.png?width=200&height=78&name=LR_Logo_vector_horizontal_color_shadow%20(1).png)

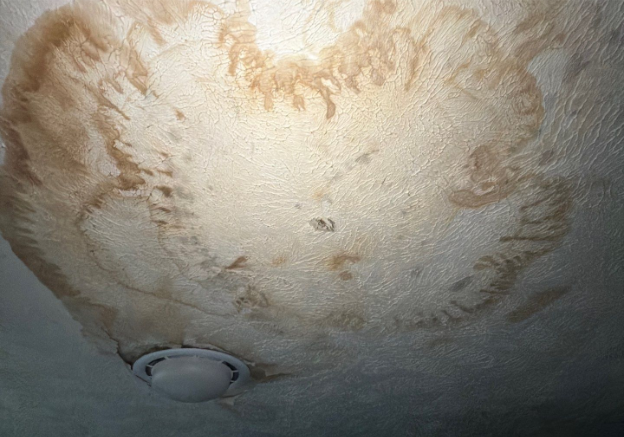
Water stains rarely appear directly below the actual leak, so the fastest way to find the true source is to inspect your attic during or right after rainfall, follow the wet insulation or rafters uphill to where water is entering, and check chimney flashing and vent pipe boots first, since these are the two most common leak points on any roof.
Can't find the source yourself? Our roof leak detection service traces it for you, starting with a free inspection.
A ceiling stain tells you water got in somewhere, but it almost never tells you where. Water travels along rafters, sheathing, and insulation before it drips down, sometimes several feet from the actual entry point. The most reliable way to trace a leak back to its source is to go into the attic yourself and follow the evidence. Here's how to do it methodically, plus what to look for and how to fix problems at the two spots that cause the most trouble: chimneys and vent pipes.
Walkthroughs like this one are part of a broader effort to educate homeowners: Linta Roofing runs a roofing learning center and a YouTube channel where the owner answers homeowner questions to provide first-person education to everyone. The Roofing Resource Channel covers questions such as the seven things to know before starting an insurance claim.
Table of Contents
- Attic Inspection Steps
- Chimney Leaks: How to Spot and Fix Them
- Vent Pipe Leaks: How to Spot and Fix Them
- What to Do Once You've Found the Source
- Frequently Asked Questions
Attic Inspection Steps
- Time it right: The best time to inspect is during active rainfall or within an hour after it stops, while wet spots are still visible. If you're inspecting on a dry day, bring a flashlight and look for staining, dark streaks, or warped wood instead of active moisture.
- Bring the right tools: A bright flashlight or headlamp, binoculars for a ground-level exterior check, a moisture meter if you have one, a phone camera for documentation, and a notepad or your phone's notes app to mark locations relative to vents, chimneys, or plumbing stacks you can identify from outside. Professionals often add a thermal imaging camera to this list, since it reveals temperature differences that point to trapped moisture even when the surface looks dry.
- Start at the roof's high points and work down: Water almost always enters higher on the roof than where it shows up in the attic, so scan the underside of the roof deck near the ridge first, then move toward the eaves.
- Look for these signs, not just wet spots:
- Dark or black stains on the sheathing or rafters (mold and mildew growth from repeated, older leaks)
- Rusted or corroded nail tips poking through the sheathing, a reliable sign that moisture has been present at that spot for a while
- Sagging, discolored, or compressed insulation, which holds water and points you toward the origin
- Daylight visible through the roof deck, especially around penetrations, which signals a gap worth investigating immediately
- Follow the trail uphill: Once you spot moisture, trace it along the rafter or sheathing seam upward, since water follows the path of least resistance downhill along wood grain and framing before dripping. The entry point is almost always at the highest point of the stain, where damaged wood transitions back to normal.
- Rule out condensation first: Not every damp spot in the attic is a leak. Poor ventilation lets warm, moist air from inside the home rise and condense on the cold underside of the roof, which can look identical to a slow leak. If the moisture is spread evenly across a section of decking rather than following a trail from a specific penetration, condensation is worth ruling out before you assume roof damage.
- Run a water test if the source still isn't clear: This works best with a helper. Have one person go outside with a garden hose while the other stays in the attic watching the suspected area. Start low on the roof, just above where the interior damage shows up, and soak one small section for several minutes before moving to the next. Work upward and side to side until your helper calls out that water is visible. Use a gentle stream rather than a heavy spray, since the goal is to mimic rainfall, not force water in.
- Cross-check with the exterior once you have a suspected zone: From the ground with binoculars, or carefully from a ladder, look for cracked, curled, or missing shingles, rusted or exposed nail heads, and any gaps in flashing near the zone you identified in the attic. If the damage traces back to a recent storm, our storm damage guide covers what to look for and how insurance factors into the repair.
- Photograph everything before you patch anything: Documentation helps if you're filing an insurance claim or getting a professional quote, and it gives a roofer a head start if you decide to call one in. If a claim is likely, see our guide on documenting roof damage for an insurance claim for what adjusters actually look for.
Chimney Leaks: How to Spot and Fix Them
Chimneys are one of the most common leak sources on residential roofs, largely because they combine two different building materials, masonry and roofing, at a seam that has to flex with temperature changes year after year. The flashing around the chimney, not the chimney itself, is almost always the actual point of failure.
What to look for in the attic:
- Water stains on the rafters or sheathing immediately surrounding the chimney chase
- Rust streaks or discoloration on the chimney's interior masonry or metal liner near the roofline
- Damp or compressed insulation directly adjacent to the chimney
What to look for from outside:
- Loose, rusted, or visibly separated step flashing or counterflashing along the chimney's base
- Cracked mortar joints or a crumbling chimney crown
- Gaps where old caulk or roofing cement has shrunk, dried out, or pulled away from the seam
- A missing or damaged chimney cap, which lets water in from directly above rather than at the roofline
What's usually causing it:
- Deteriorated step flashing or counterflashing. These metal pieces are installed in overlapping layers where the chimney meets the roof plane, and they pull away, corrode, or were improperly installed to begin with.
- Cracked chimney crown or mortar joints. Water gets into the masonry itself and works its way down into the attic space rather than entering through the roofline.
- Failed sealant at the flashing seams. Caulk and roofing cement are meant as secondary protection, not primary waterproofing, and they degrade faster than the metal flashing around them.
How it typically gets fixed:
- Removing the old sealant and any corroded flashing, then installing new step and counterflashing cut to fit the chimney's dimensions, which is the long-term fix rather than a caulk patch
- Applying fresh roofing cement beneath the new flashing edges and securing it with masonry fasteners for a leak-proof seal
- Repairing or repointing damaged mortar joints and resealing the chimney crown
- Installing or replacing a chimney cap if water is entering from above rather than at the roofline
Once repairs are complete, a water test focused specifically on the chimney, run the same way as the attic-search version above, confirms the new flashing is actually holding before you close everything back up.
Vent Pipe Leaks: How to Spot and Fix Them
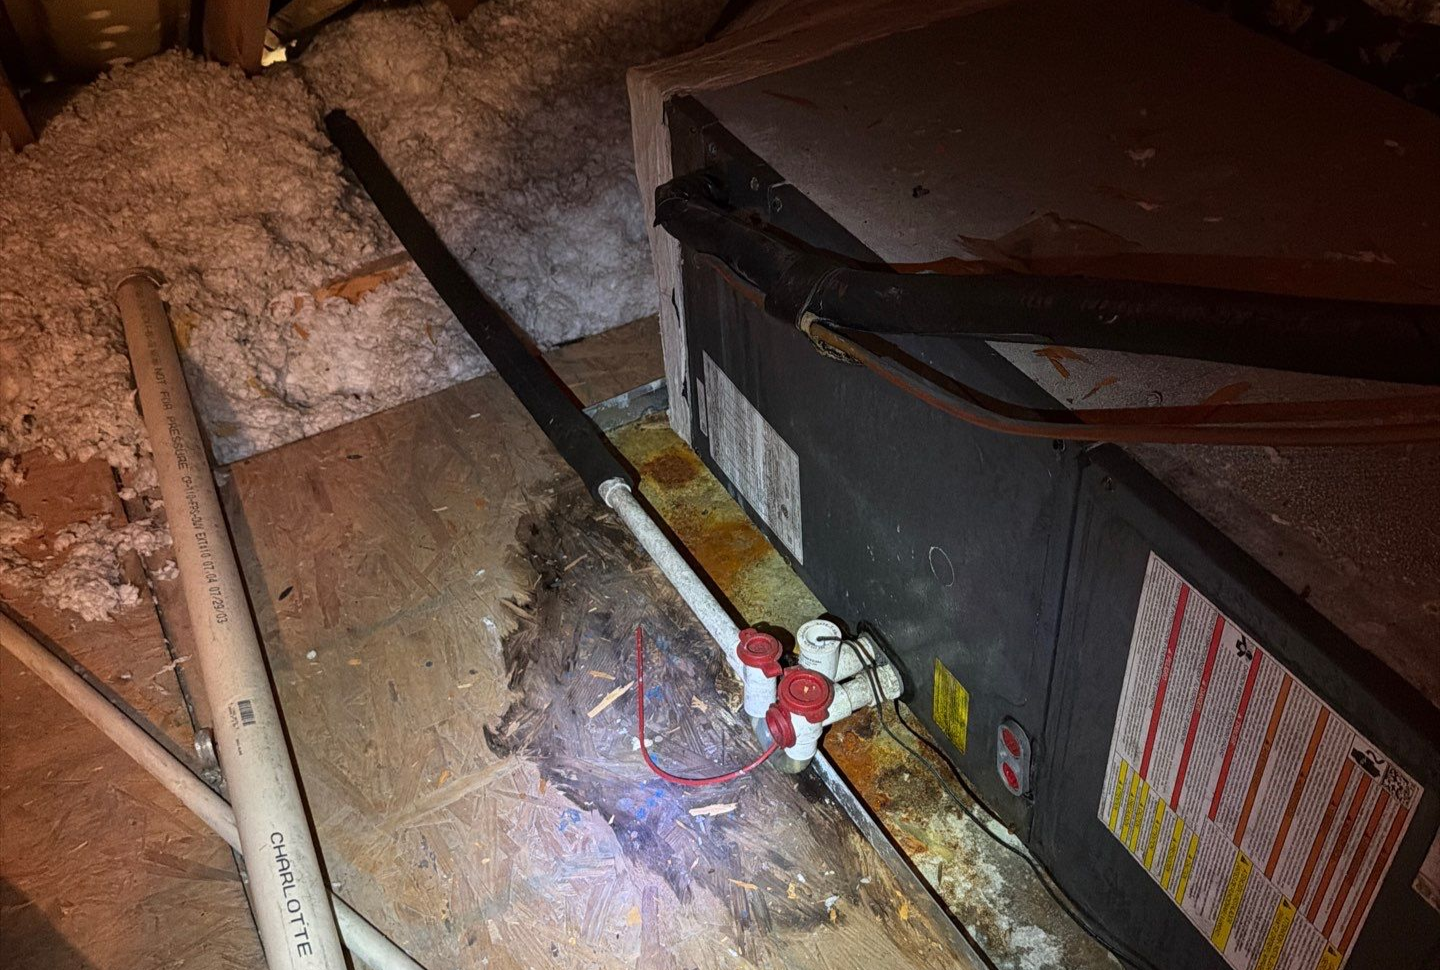
Plumbing and exhaust vent pipes use a rubber or plastic boot to seal around the pipe where it exits the roof, and that boot is a wear item with a shorter lifespan than the shingles around it.
What to look for in the attic:
- A circular or semi-circular water stain directly around where the pipe passes through the roof deck
- Wet or stained insulation in a ring pattern beneath the penetration
- Light visible around the pipe if the boot has cracked or pulled away from it
What to look for from outside:
- Cracking, splitting, or sun-brittle rubber around the base of the boot
- Nail heads backing out or visibly rusted at the boot's flange
- Gaps where the boot meets the pipe itself, rather than where it meets the shingles
What's usually causing it:
- A cracked or split rubber boot. Rubber boots typically last ten to fifteen years and dry out, crack, and split with sun exposure well before the roof itself needs replacing.
- Nails backing out at the boot's base. Thermal movement over years can work fasteners loose, opening small gaps at the flange.
- A boot that was never properly sealed during a prior roof replacement or repair, which can produce a leak even on a newer roof.
How it typically gets fixed:
- Removing the failed boot and replacing it with a new one matched to the pipe diameter, which is a straightforward and relatively low-cost repair
- Re-nailing and resealing the boot's flange with roofing cement if the boot itself is intact but the seal at the edges has failed
- Upgrading to a lead or metal boot in climates with heavy sun exposure, since these outlast rubber substantially
What to Do Once You've Found the Source
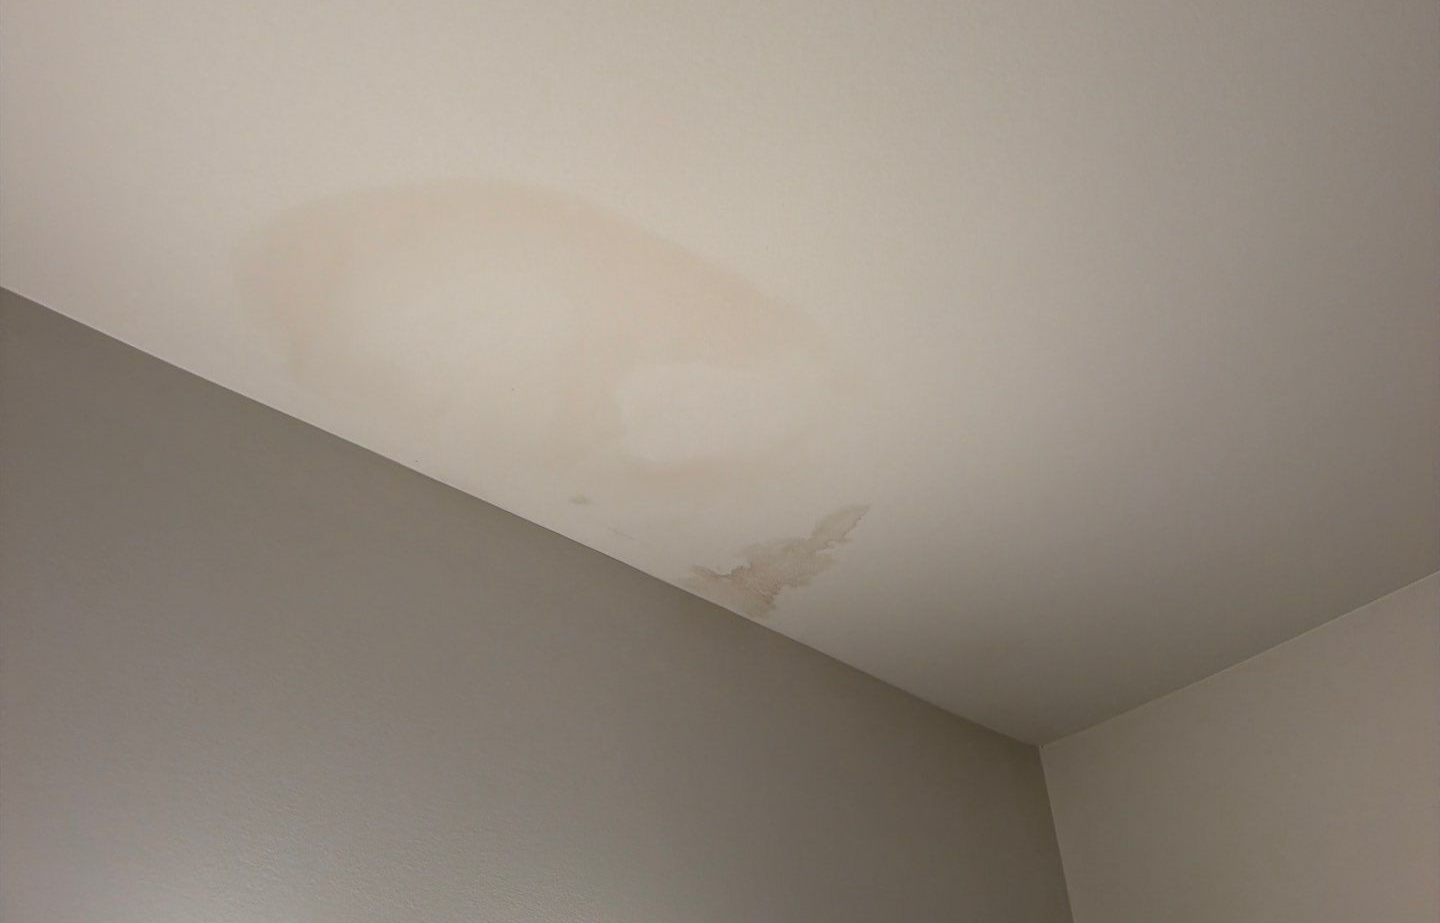
A confirmed leak source in the attic doesn't always mean a simple fix. Flashing and boot repairs are straightforward for a professional but difficult to seal correctly from a ladder, and a leak that's been active for a while may have caused damage to the decking underneath that isn't visible until the area is opened up. A poorly sealed DIY patch can also trap moisture and make it harder for a roofer to find the true source later. If you've traced the source, document it with photos and get a professional roof repair evaluation before the next rainfall to confirm the fix will hold.
If the leak traces back to storm damage, our roof insurance claim assistance walks through documentation, adjuster meetings, and coverage guidance so the repair scope matches the actual loss.
Schedule a free roof inspection with Linta Roofing and we'll pinpoint the source and give you a straightforward repair plan.
Linta Roofing, at lintaroofing.com, is a third-generation family roofing contractor based in Little River, South Carolina, serving four counties across two states.
Frequently Asked Questions
Why is the ceiling stain not directly under the leak?
Water follows the path of least resistance along rafters and sheathing before dripping, so it can travel several feet horizontally before it shows up as a ceiling stain.
How do I tell a roof leak apart from attic condensation?
A leak usually follows a visible trail from a specific penetration or seam, while condensation tends to appear as even moisture spread across a section of decking with poor ventilation. A professional moisture meter reading can confirm which one you're dealing with.
How often do vent pipe boots need to be replaced?
Rubber boots typically last ten to fifteen years, which is often shorter than the roofing material around them, so they're worth checking even on a newer roof.
Is a chimney leak always a roofing problem?
Not always. Cracked mortar, a damaged chimney crown, or a missing cap can let water into the chimney itself, separate from any issue with the roof flashing.
Is it safe to do a temporary patch myself while I wait for a professional?
Containing water with a bucket is fine, but sealing the roof yourself can trap moisture or mask the true entry point, making it harder for a roofer to diagnose later. It's better to document what you've found, following the same documentation approach we recommend for insurance claims, and leave the repair to a professional.
