
Have you ever found yourself nodding along in a conversation with a roofing contractor?
Only to later realize you’re lost in a sea of technical jargon.
Or you find yourself staring vacantly, thinking “I’ll have to Google this later”.
And now here you are, ready to dive into the world of roofing terminology – simplified.
It’s comforting that they know what they’re talking about. But, it’s more important for the success of your roofing project that you know what they’re talking about.
With 38 years of expertise, Linta Roofing has used materials from some of the best manufacturers in the world such as Atlas, IKO, Owens Corning, GAF, and CertainTeed. We’re happy to provide industry-wide material terms you may want to know before starting a roofing project.
We aim to provide you with this guide so you feel empowered as you embark on your roofing project and maintain effective communication with your roofing contractor.
The Foundation of Your Roofing System: Roof Decking, Trusses, and Rafters
As you may have already learned, your roof is composed of various elements, and each area is addressed by your contractor during pricing and work initiation. We aim to provide clarity on these specific aspects of your roof so you can proceed with confidence as you undertake the process of roof repair or replacement (you may also impress your roofing contractor with how much you know! But that’s just a bonus.)
Let’s start with the foundation:
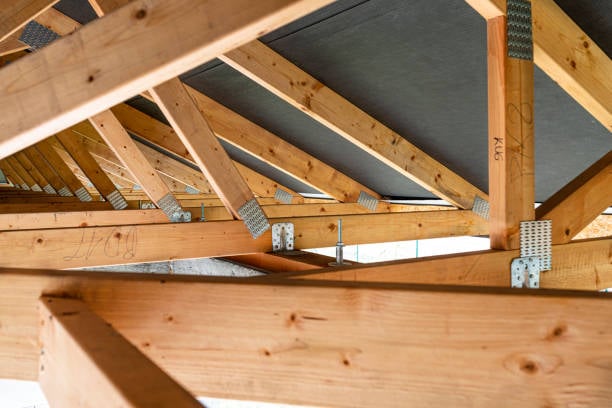
Trusses: Trusses are the framing members that hold up the roof deck. Trusses are prefabricated before they are installed on a home. You will know that you have trusses if you see metal plates.
These metal plates were used to hold the individual wood members together during the manufacturing process. Roof trusses covered with a membrane on a detached house under construction, view from the inside, visible roof elements and truss plates.
Rafters: Rafters are also framing members that hold up the roof deck. Rafters are different from trusses but serve the same purpose. Rafters are built on-site by using individual pieces of lumber during home construction. You can usually tell you have rafters instead of trusses when there are no plates connecting framing members.
Roof Decking: Roof decking refers to the flat layer of material, often plywood, that is installed over the rafters or trusses. Roof decking is what your shingles are nailed to during the install. Your roof decking is protected from the elements by underlayment.
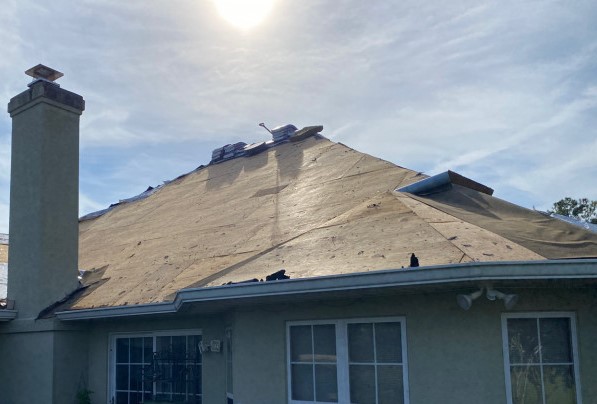
Underlayment: An Extra Layer of Protection for Your Roof
Underlayment acts as a protective layer that is installed beneath your shingles. The main benefit of underlayment is that it helps prevent water from leaking through the roof decking if you were to lose a shingle.
It also protects your home during the installation process of your new roof. This protects your roof decking from the time that the old shingles are removed until the new shingles are installed. This way if a flash rain storm appears before your new shingles are installed you are protected.
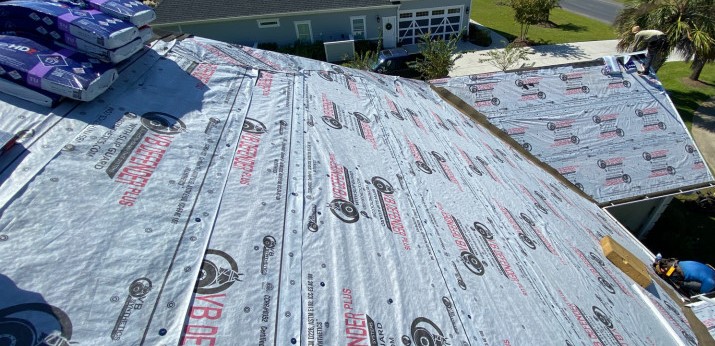
There are a few different kinds of underlayment including:
- Ice and Water Shield: an asphaltic membrane that has adhesive on one side. It sticks directly onto the roof deck and any high-traffic water areas. It also sticks anywhere your roof meets a wall, a pipe, exhaust vents, and more. Manufacturers typically consider this type of underlayment an accessory. Ice and water shield provides better protection from leaks than synthetic or felt paper. In areas of prolonged freezes, it also protects against ice damming. However, this is not usually an issue for North Carolina and South Carolina residents.
- Synthetic felt: protects the roof while it’s being installed in case of a flash or rainstorm. It also acts as a second layer of protection in case any shingles come off due to a future storm.
- Felt Paper: Felt paper is a substitute for synthetic felt of lesser quality. The reason the quality is lower is because it is more prone to damage. Felt paper isn’t made to be exposed to UV light for more than a week. If your roofing project takes longer, this material could break down before the project is done.
Underlayment is the second layer of foundation for your roof before shingles are installed. Shingles have both aesthetic and functional purposes for maintaining a strong roof.
Shingles: An Essential Material on Your Roofing System
Now, let’s talk shingles — the outermost layer of your roof.
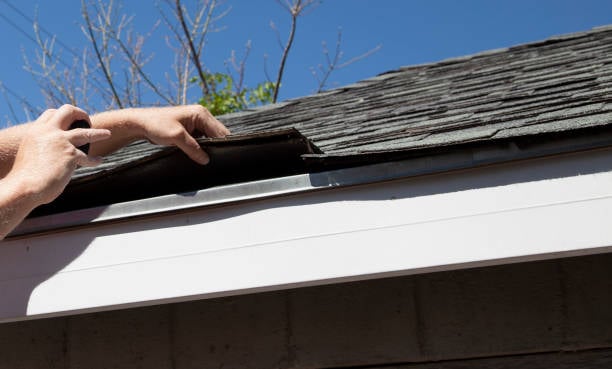
Starter Shingles: Specifically designed to go on the edges of your roof. Starter shingles are installed on top of the drip edge. This keeps wind from lifting your shingles, possibly damaging them. The areas where your shingles overhang are most prone to damage, meaning that this is an essential component of your roofing system.

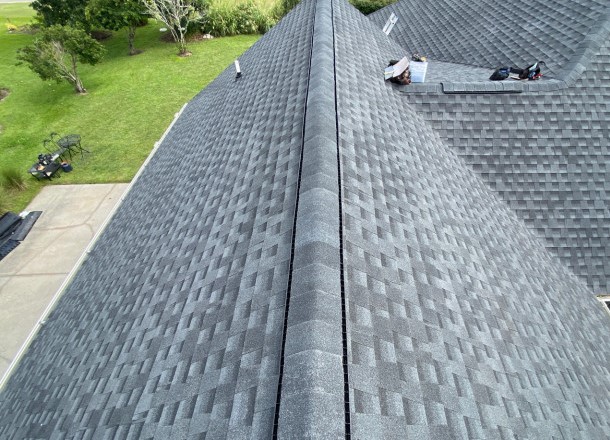
Field Shingles: These are the shingles that cover the rest of your roof. These shingles come in 3 options including 3-tab, architectural, and designer shingles.
Hip and Ridge Cap Shingles: These shingles come perforated so they can be made smaller and contour to the hips and ridges on your roof.
Nails: Nails are a main component of a shingle roofing system. Nails are used to attach the shingle to the roof decking. Sometimes, people believe screws are used to install shingles. However, roofers use nails because they provide a smoother install process.
You might also notice more intricate sections on your roof, such as PVC pipes protruding from the rooftop. In the roofing industry, we call these areas accessories.
Accessories: Roofing Materials that Enhance the Functionality of Your Roof
Roofing accessories are additional components and elements integrated into a roofing system that promotes its functionality and durability.
These accessories play a crucial role in safeguarding the roof against various environmental factors and contributing to the overall performance of the roofing structure.
There are 8 common roof accessories to be aware of:
Drip edge: A piece of metal that goes around the perimeter of your roof. Drip edge sits under the starter shingles. The purpose of drip edge is to wick water away from the home. You may find these in steel, aluminum, or plastic. Drip edge comes in various forms and sizes.
Hip and Ridge Cap: Caps installed to the hips and the ridges of the roof.
Ridge Vent: A ridge vent goes on the peak of a sloped roof and allows hot air to escape from the attic, ventilating the attic space. There are a variety of ridge vent types including metal and plastic, but they range in quality. Most styles of ridge caps are installed over the top of the ridge vent.
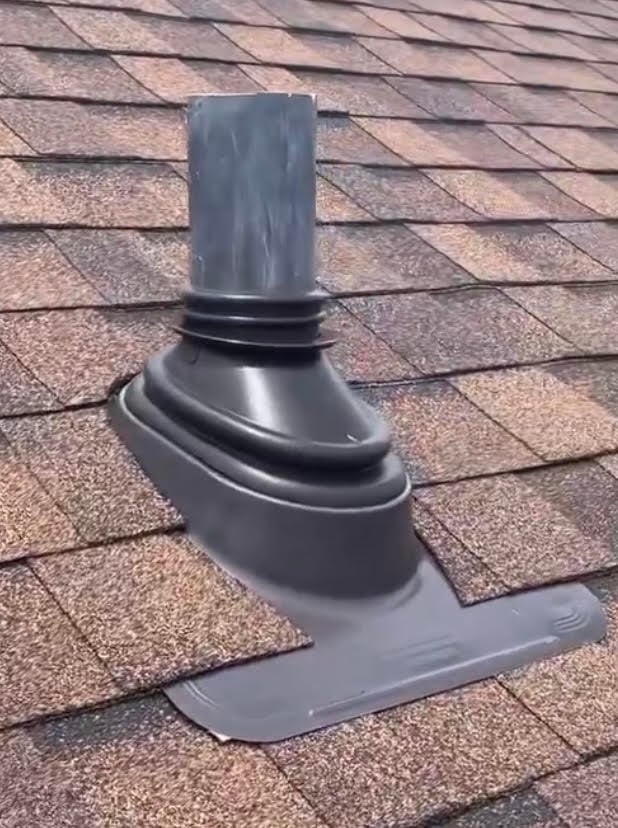
Pipe Boots: Pipe boots are installed where PVC pipes come out of the roof. This is a flashing piece of material that flashes those PVC pipes to make sure no water comes into the home.

Flashing: Flashing is placed where the roofing materials and siding materials intersect. It is installed to create a waterproof transition between the roof and siding. It is installed behind the siding and underneath the shingles. Flashing is generally made of metal, usually aluminum or steel but can be made out of copper.
Power Vents: Power vents are either solar-powered or powered by electricity wired through the home. These vents are most often thermostat-controlled and cut once a certain temperature is reached in the attic. These vents pull air out of the roof, creating ventilation in areas where the ridge vent isn’t applicable.
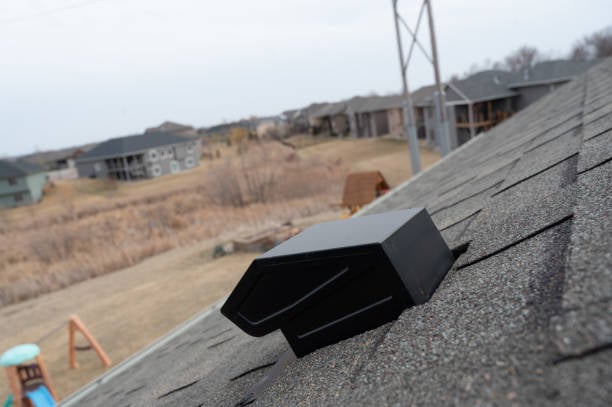
Static Vents: Vents that are not powered, there are no moving parts that pull air out. Rather air escapes at its leisure.
Caulking: The most common type of caulking is tar or silicone. Caulking is installed in tight areas, sometimes over the top of exposed nails. Caulking is installed to prevent water from entering an exposed area.
Navigating Roofing Terminology: Your Guide to a Confident Roofing Project
Embarking on a roofing project can be overwhelming, especially when faced with a barrage of technical terms. If you’ve ever felt lost in the labyrinth of roofing discussions, fear not; we at Linta Roofing are here to help!
As a roofing enthusiast in the making, you now have the tools to communicate effectively with contractors and make informed decisions about your roof.
Learning about the different aspects of your roof may make you wonder “How does this affect the price of my roof?” or “Which shingle is best for my home?” and we are happy to clear up any uncertainty you may have moving forward in the process to a new roof.
Armed with this newfound understanding, you’re ready to embark on your roofing journey, giving you the peace of mind and security you need from the beginning of your roofing project to the end.